Setting Up the Environment
Setup everything in a few minutes
Thanks to the magic of Docker and VSCode we can launch a running environment really quick! 🎉
You can choose how to do it:
Local Environment
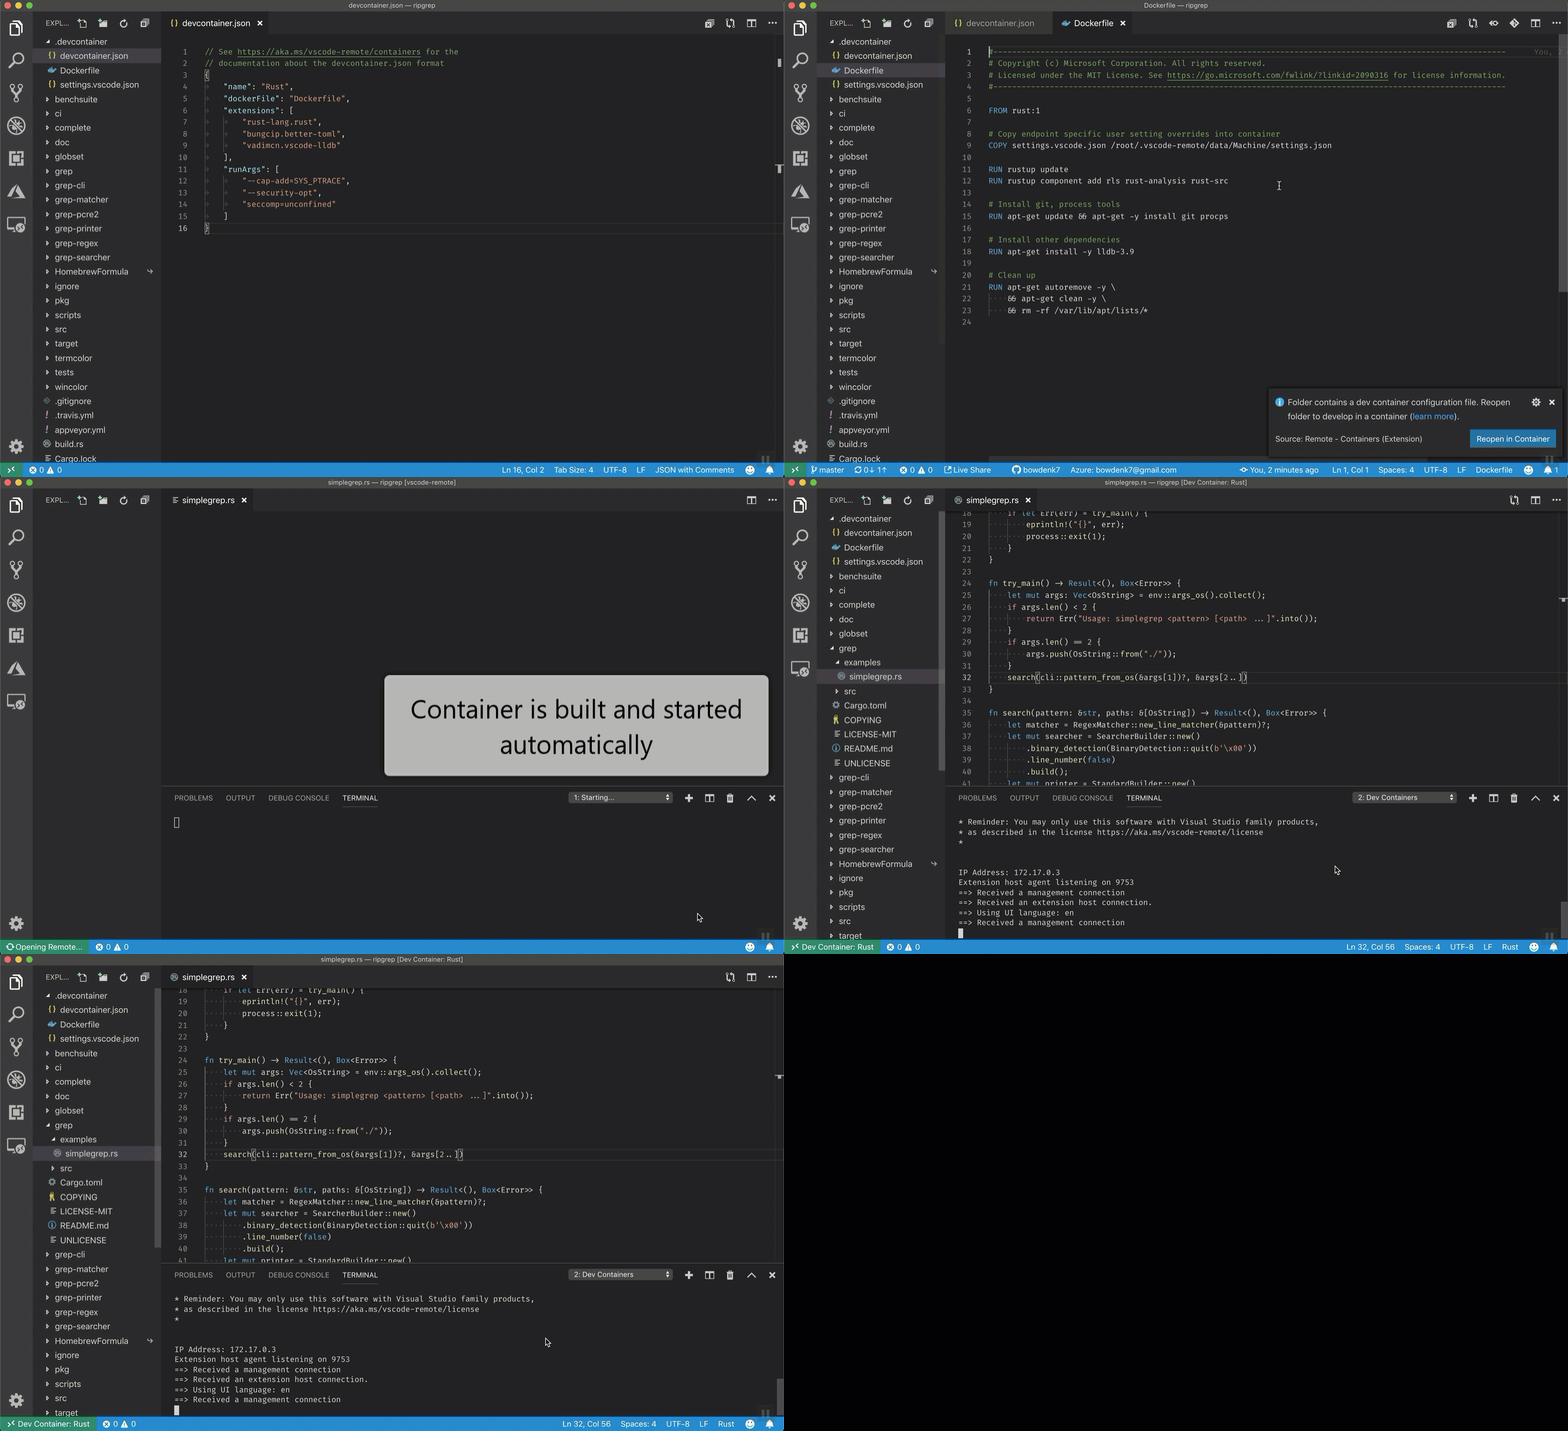
Thanks to the magic of the DevContainers we can simply, clone the repo, open VSCode and launch a full ready environment clicking a single button. 😄
You need Docker Installed
In order to use DevContainers you need to have Docker installed in your computer. If you don't have it, you can download it from here.
Install the VSCode pluggin "Dev-Containers"
In order to use DevContainers you need to have the VSCode pluggin Dev Containers.
You can do it manually:
Or by pressing:
- Press
Ctrl+P - Paste
ext install ms-vscode-remote.remote-containers - Press
Enter
1. Clone the repository
2. Open VSCode
Launch VSCode and open the folder of the repo.
3. Launch the Devcontainer
Click on the bottom-right blue button Reopen in Container (wait, first time takes some time to run).
4. Open MLFlow
A MLFlow server should start automatically (thanks to the magic of Docker Compose) at http://localhost:5000/. If it did not started automatically (or if you launched VSCode on the web), then follow this instructions:
- 👉 Click on:
Ports - 👉 Check there is a port 5000 open (if not add a port 5000)
- 👉 Click on:
🌐
Congrats!
🎉 You are ready to go! 🎉
Github Codespaces
GitHub Codespaces is like having a ready-to-use computer for writing and testing code, but it's all online. Imagine if your coding tools, like your text editor and programming languages, were available on the internet. With GitHub Codespaces, you can write and run your code in a web browser without needing to install everything on your personal computer. It's handy for collaborating with others and quickly starting coding projects, kind of like having your coding workspace in the cloud.
You need a Github Account
In order to access to GitHub Codespaces you need to log in into your account or register if you have no account. Github provides 60 hours of computing at CodeSpaces for free! 🤑
1. Create a copy of the repository (fork)
- 👉 Go to the oficial repo at https://github.com/Matesanz/mlops-course
- 👉 Click on
Fork > Create a new Fork
2. Launch a CodeSpace in VSCode
- 👉 Go to your fork at
https://github.com/<your_user>/mlops-course - 👉 Click on:
<> Code>Open in>Open in Visual Studio Code
Alternative: you can also launch VSCode in the web
💡 If you have not installed VSCode at your computer this is a (even more) straightforward way to go.
- 👉 Go to your fork at
https://github.com/<your_user>/mlops-course - 👉 Click on
Code > Create codespace on main
- 👉 Wait for the CodeSpace to launch
3. Open MLFlow
A MLFlow server should start automatically (thanks to the magic of Docker Compose) at http://localhost:5000/. If it did not started automatically (or if you launched VSCode on the web), then follow this instructions:
- 👉 Click on:
Ports - 👉 Check there is a port 5000 open (if not add a port 5000)
- 👉 Click on:
🌐
Congrats!
🎉 You are ready to go! 🎉


